

Painted cabinets tend to fail in the same place first: around the handles, where cooking oil, hands, and daily wiping hit the finish hardest. That detail separates a paint job that lasts from one that peels.
This guide walks through how to paint kitchen cabinets step by step, what a professional crew does differently, and a side-by-side table that settles whether your kitchen is a DIY job. The short answer is yes, you can do it yourself on a sound finish if the prep is right, and in older Minneapolis and St. Paul kitchens the prep is where the job is won or lost.
Key Takeaways
Can You Paint Kitchen Cabinets? Yes, If What's Underneath Is Sound
Yes, you can paint kitchen cabinets, and the finish underneath decides how hard the job is. Older Minneapolis and St. Paul homes often carry decades of paint layers, so the real question is what the paint will stick to. If the old coating flakes under a fingernail near the handles, it is already failing.
| Existing finish | What it takes |
|---|---|
| Sound painted or factory finish | Degrease, de-gloss, then a bonding primer |
| Glossy factory lacquer | De-gloss and a bonding primer, or the new finish releases at the handles within a season |
| Previously painted and now failing | Bring it back to a sound surface first, then prime |
How to Paint Kitchen Cabinets Yourself, Step by Step
A DIY paint kitchen cabinets project runs in seven steps, and the order matters more than the brand of paint.
Can You Skip the Sanding? Sometimes, and Here's the Catch
Here is how to paint kitchen cabinets without sanding: degrease, dull the gloss with a liquid deglosser, then use a bonding primer. That works on sound, clean finishes. A failing or very glossy finish still needs sanding, and the primer maker's instructions have the final word, so test a hidden spot first.
About 75% of homes built before 1978 contain some lead-based paint, according to the Minnesota Department of Health guidance on remodeling older homes, and sanding turns that paint into dust. In older Minneapolis and St. Paul neighborhoods, assume lead until a test says otherwise. The federal rule for paid work does not cover most homeowners on their own projects, but the EPA lead-safe work practices are still the right call for anyone who disturbs old paint.
Where DIY Cabinet Jobs Usually Go Sideways
Four mistakes show up again and again. Grease left near the handles lets the finish let go from the inside out. Doors rehung before the finish cures stick to the frame and pull paint off when opened. Roller texture on raised panels reads as orange peel. And coats laid on too thick drip, gum up, and stay soft.
Number and remove everything. Put matching numbered tape on each door and its opening, bag the hardware by location, and set the doors flat on a raised surface.
Degrease every surface. Cooking oil is why most cabinet finishes fail, and the worst of it sits at the handles and above the range. Let everything dry fully.
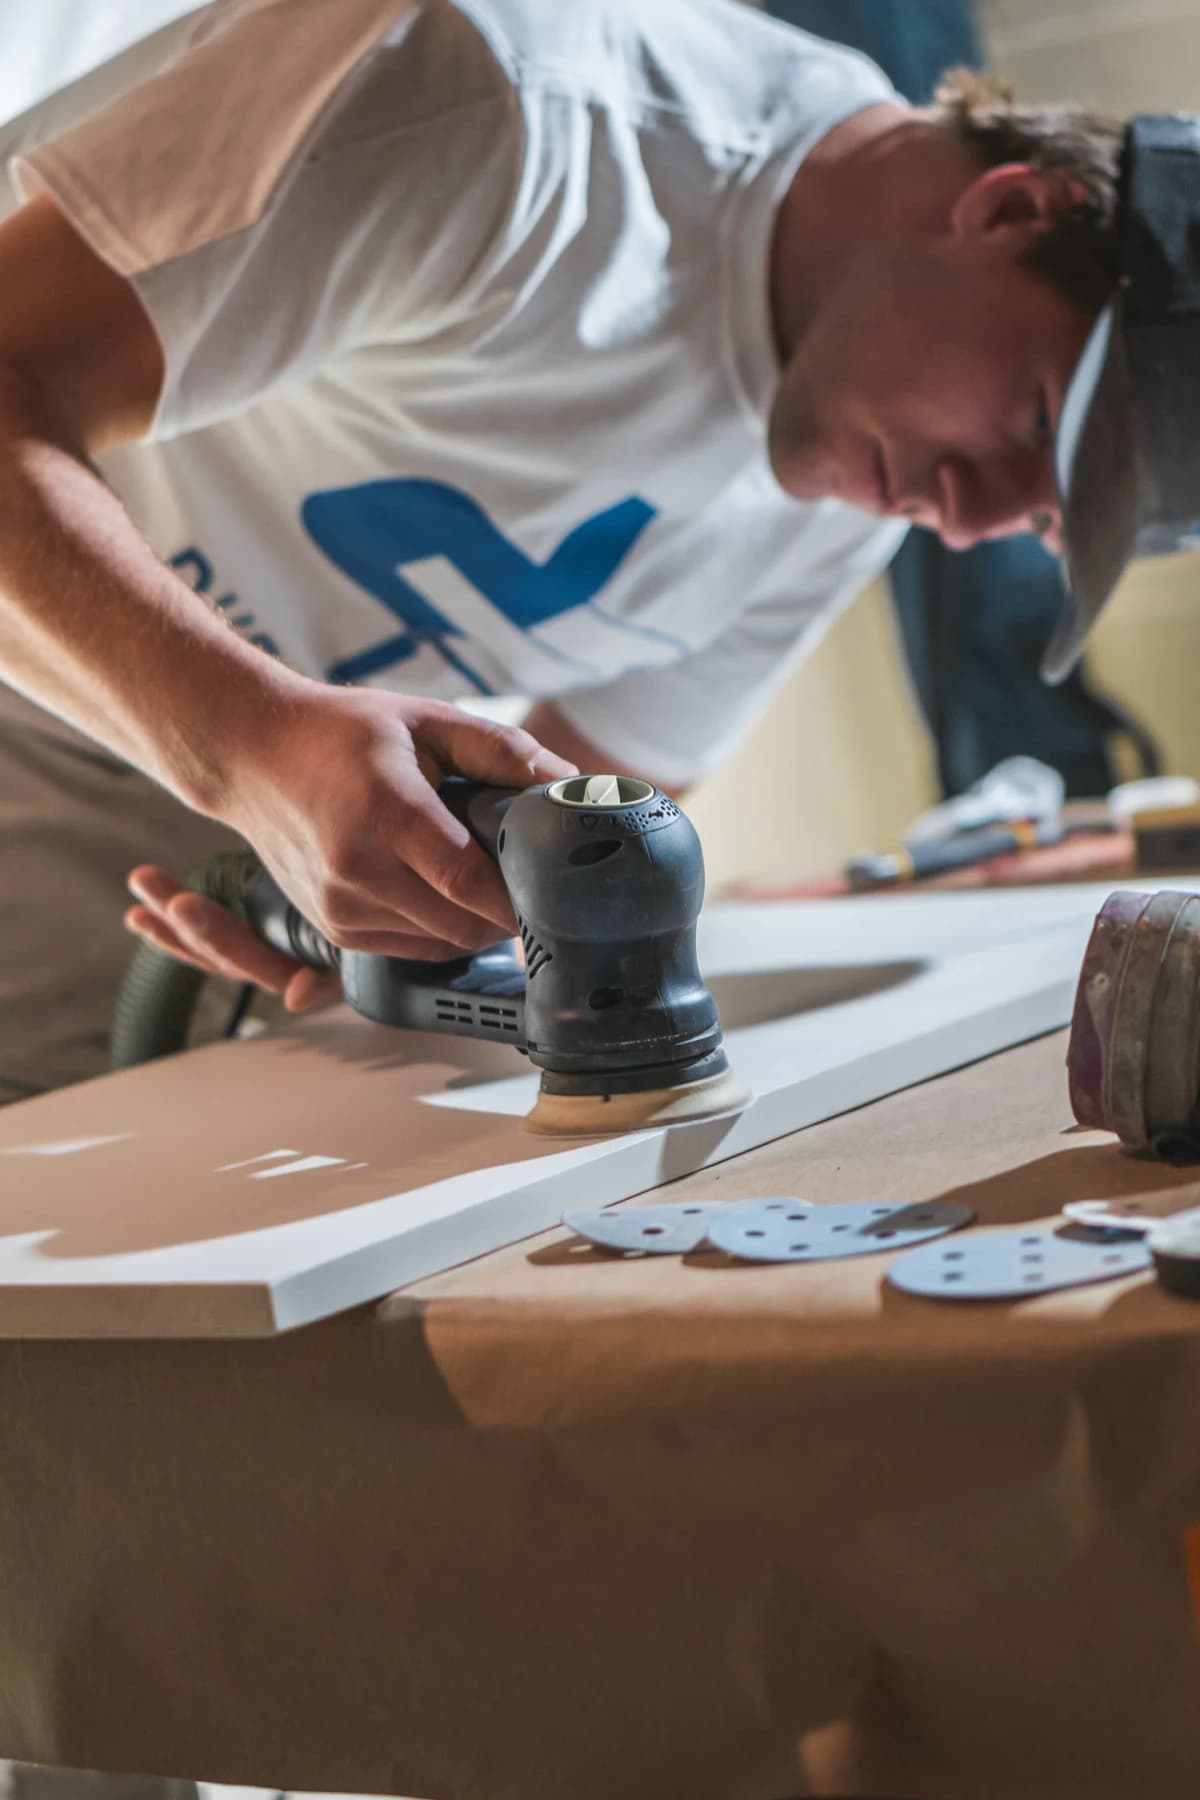
De-gloss and repair. A liquid deglosser dulls the sheen. Fill old hardware holes and dents, then wipe away the dust.
Prime with a bonding primer. It grips slick finishes that ordinary primer slides off. Respect the recoat time on the can.
Paint two thin coats of cabinet enamel. Brush the recesses first, then roll the flat panels with a foam roller. Thin coats level out, while thick coats drip and stay soft. Spraying gives the smoothest surface but needs heavy masking.
Let the finish cure before rehanging. Dry to the touch is not cured, and many cabinet enamels take days to weeks to reach full hardness.
Rehang the doors and add hardware. Go easy on scrubbing for the first week or two.
How to Paint Kitchen Cabinets Professionally: What Pros Do Differently
Durahome Painting Plus treats cabinets as a shop project that happens to start in your kitchen. How to paint kitchen cabinets professionally comes down to three differences: where the doors are finished, how the paint goes on, and when the doors go back.
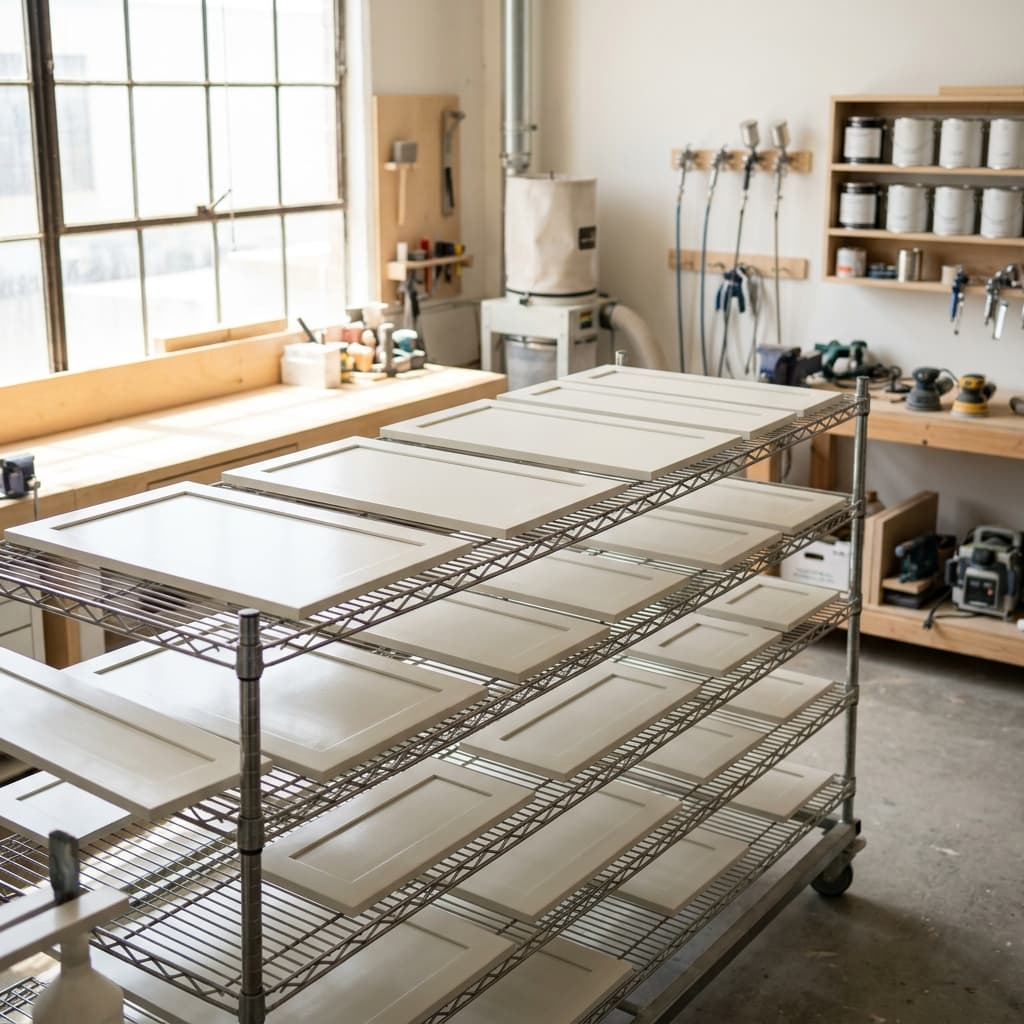
Cabinet painting at Durahome starts with numbering every door and drawer front, removing them, and finishing them away from the home, which keeps household dust off wet paint. Each piece is degreased properly, de-glossed, scuffed, and primed with a bonding primer matched to the existing finish. The Sherwin-Williams finish coats are sprayed for an even surface with no brush texture. The cabinet boxes stay in place, masked and finished to match, and old hardware holes are filled and re-drilled wherever you are changing handles. Doors go back only once the finish is properly ready, not merely dry.
DIY or Pro? The Best Way to Paint Kitchen Cabinets for Your Kitchen
The best way to paint kitchen cabinets comes down to three things: how many doors you have, what shape the finish is in, and how much time the kitchen can spare. The cost to paint kitchen cabinets professionally follows door count, which is why a compact galley kitchen and a large pantry kitchen land far apart.
| DIY | Pro | |
|---|---|---|
| Price | Supplies and tools, plus your time | $150–$175 per door and drawer front (2 or 3 coats); a typical kitchen with 30–40 doors runs $5,000–$8,000 |
| Time | Several working days plus cure time | Set by door count and scheduled in the written estimate |
| Finish | Brush or roller texture is likely; spraying needs heavy masking | Sprayed, even, no brush texture |
| Space and tools | Flat space to lay out every door while it dries | None needed; doors are finished away from the kitchen |
| Risk | A failed finish means stripping and starting over | 2-5 year written warranty, scaled to the scope |
| Best fit | A vanity, a small run, or flat-slab doors on a sound finish | 30+ doors, a failing finish, grain fill, a tight schedule, or a sale within a few years |
Space is the constraint people forget. A Minneapolis condo or a St. Paul duplex rarely has a garage or spare room where 30 to 40 doors can lie flat for days. A vanity, a laundry run, or built-ins added to a kitchen project cost a fraction of what the same units cost as a standalone visit, so they are worth quoting together.
Who's on the Other End of the Group Text?
Hiring a painter should not feel like a leap of faith, so Durahome stacks the protections:
One Group Text: production manager, owner, estimator, and crew foreman in one thread from day one.
About 90% crew retention: most painters carry close to a decade of experience.
Sherwin-Williams products throughout.
A 2-5 year written warranty, scaled to the scope of the project.
Durahome holds a 4.8 rating from 140 Google reviews and is a Painting Contractors Association (PCA) member. Homeowners who hire a team to professionally paint kitchen cabinets start with a free walkthrough, where the crew reads your cabinets in person in Minneapolis or St. Paul before quoting. Because kitchen cabinet painting cost varies with the finish underneath, that walkthrough comes first. Phone estimates run on the high side and often come in lower, and the written estimate is exact and always free.
Your Cabinets, Your Call: Paint Them Yourself or Hand Us the Doors
If your project is a vanity or a short run of flat doors on a sound finish, paint it yourself: follow the seven steps and let the finish cure. If your kitchen has 30 or more doors, a failing finish, or a schedule that will not bend, hand us the doors. Book your free estimate for your Minneapolis or St. Paul kitchen, and we will walk the cabinets before naming a number.
Frequently Asked Questions
How long do painted kitchen cabinets last?
It depends on the prep, the primer, the paint, and the wear the kitchen sees. Durahome backs cabinet work with a 2-5 year written warranty, scaled to the scope.
What is the best paint for kitchen cabinets?
A cabinet-grade enamel over a bonding primer, in satin or semi-gloss. Lower sheens hide imperfections, and enamel cures hard enough to wipe clean. Durahome uses Sherwin-Williams on every cabinet finish.
Will oak grain show through painted cabinets?
Yes, unless the grain is filled. Filling gives a smooth, furniture-like surface, while leaving it gives painted wood with visible texture. Either is a fair choice, and filling adds prep time.
Can you paint kitchen cabinets in winter?
Yes, if the work area stays warm enough. Cabinet enamels list a minimum application temperature on the can, and 50°F is a common floor, which a St. Paul garage in January will not meet. Keep the doors indoors and heated until the finish cures.
Do you paint the cabinet boxes too, or just the doors?
Both. New doors on old boxes leave a visible mismatch in color and sheen. Durahome finishes the doors away from the home and masks the boxes to finish in place, so the two match.