

How to Refinish Kitchen Cabinets: A Start-to-Finish Walkthrough
Tired of staring at scratched, yellowing kitchen cabinets every morning? You are not alone. Replacing them costs $15,000 or more, so refinishing the kitchen cabinets what you already have sounds like the obvious move. It can be, if you know what you are getting into. This is the walkthrough every homeowner needs before they start learning how to finish kitchen cabinets, with real timelines, honest difficulty, and the spots where most DIY projects go sideways.
Key Takeaways
** What Does Cabinet Refinishing Actually Mean?**
The term gets used loosely, so here is the breakdown. The best way to refinish kitchen cabinets depends on the existing material and finish. Refinishing means stripping or sanding the existing finish off solid wood cabinets and applying a new stain, paint, or clear coat. Repainting skips the stripping and goes straight to priming and painting over the old surface. Refacing means replacing the cabinet doors and drawer fronts entirely while keeping the existing boxes.
This guide covers both refinishing and repainting, two common ways to refurbish cabinets, since most homeowners searching for "cabinet refinishing" are open to either route. Laminate and thermofoil cabinets cannot be sanded and restrained the way solid wood can. If your cabinets are not real wood, painting with a bonding primer is the only option.
** Tools and Supplies You Will Need**
Gather everything before you start. Running to the hardware store mid-project with sticky hands is not ideal.
| Category | Items |
|---|---|
| Cleaning and prep: | TSP (trisodium phosphate) or a cabinet degreaser, clean rags, painter's tape, plastic drop cloths. |
| Sanding: | 120-grit and 220-grit sandpaper or sanding sponges, tack cloths, wood filler, putty knife. |
| Priming and coating: | Bonding primer (Sherwin-Williams Extreme Bond works well for previously painted cabinets), your chosen paint or stain, a quality 2-inch angled brush, a small foam roller for flat panels, and a clear protective topcoat (polyurethane or polycrylic). |
| Safety: | Respirator mask (not a dust mask), safety glasses, nitrile gloves. |
** Step by Step: How to Refinish Kitchen Cabinets**
1. Label and Remove Every Door and Drawer
Number each door and drawer with painter's tape on the back. Take a photo of the full layout before removing anything. Bag and label the hinges and hardware separately. A standard kitchen in the Twin Cities has 30 to 40 doors and drawer fronts, so skipping this step turns reassembly into a guessing game.
2. Clean and Degrease All Surfaces
Kitchen cabinets collect years of grease, especially above the stove and around the handles. Wipe every surface (frames, doors, and drawer fronts) with TSP solution or a dedicated cabinet degreaser. Rinse with clean water and let everything dry completely. This step matters more than sanding. New finish will not bond to grease, no matter how well you prime.
3. Sand to Create a Bonding Surface
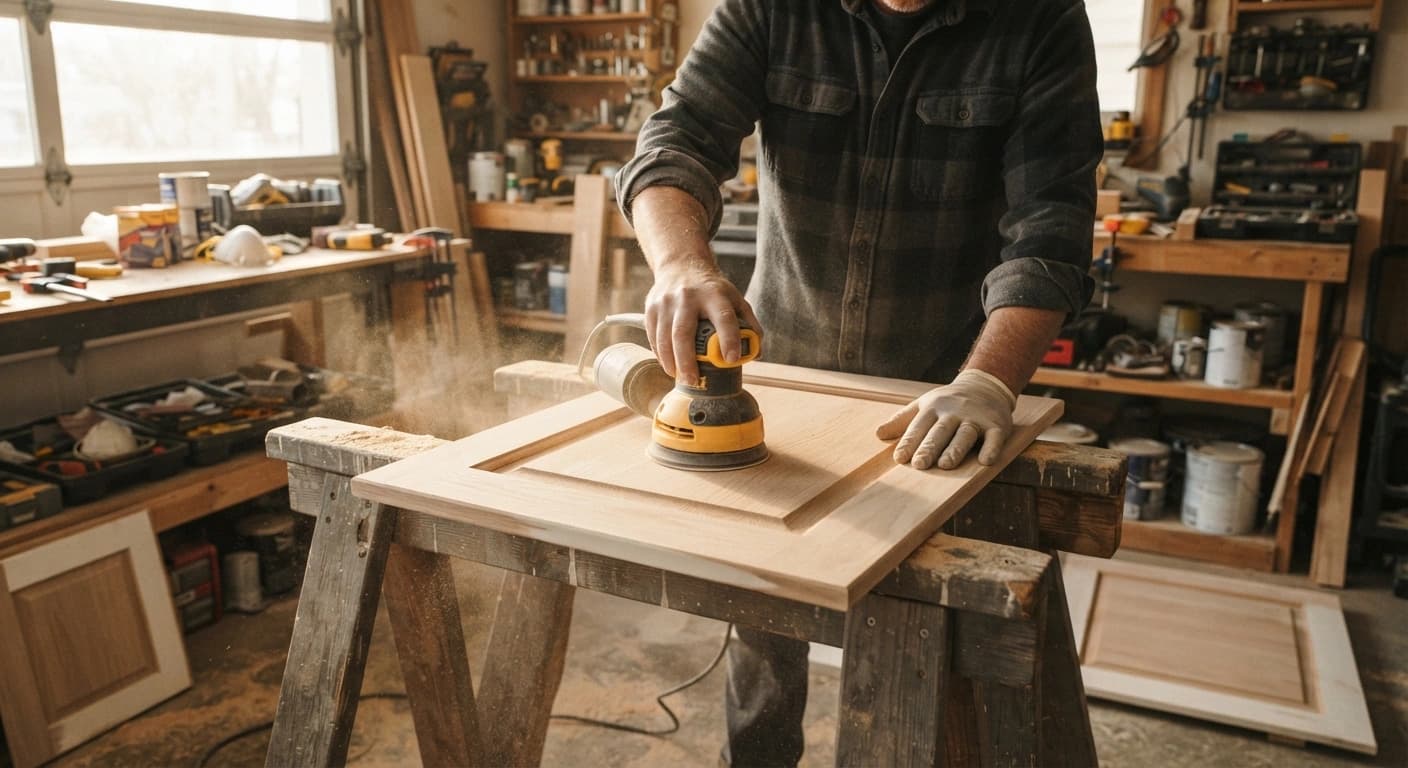
Start with 120-grit sandpaper for the first pass to knock down the old finish, then follow with 220-grit to smooth the surface for primer. Wipe dust off with a tack cloth after each pass. You are not trying to remove every trace of the old finish. You are roughing up the surface so the new coating grabs.
If you are working in a Minneapolis or St. Paul garage, timing matters. Winter cold makes finishes cure poorly, and summer humidity above 50% causes drips and extended dry times. Spring and fall give you the best window for garage work.
** 4. Fill Dents, Holes, and Grain**
Press wood filler into dents, nail holes, and any surface damage with a putty knife. If you have oak cabinets and want a smooth painted finish rather than a textured one, apply grain filler across the entire surface. Let everything dry fully, then sand flush with 220-grit.
5. Apply Primer
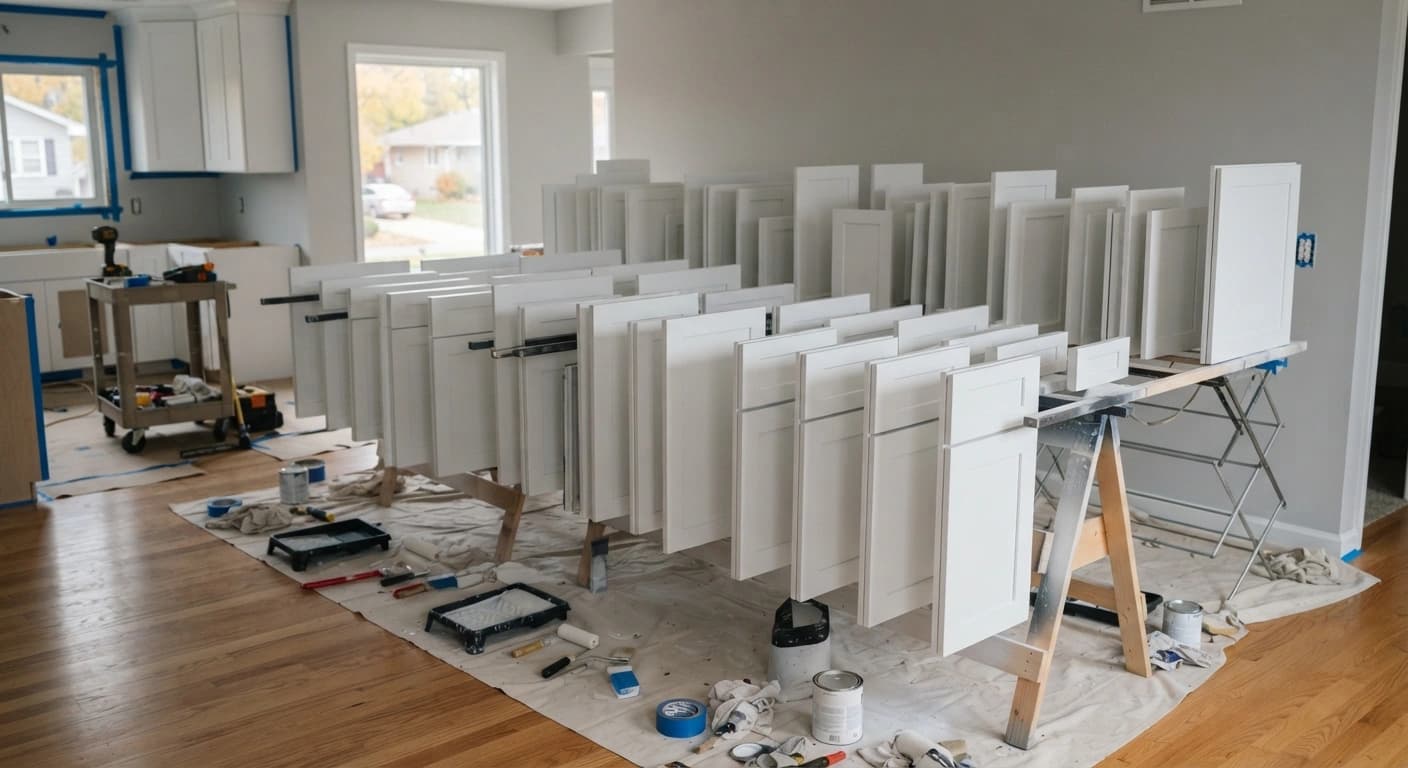
Use a bonding primer for previously painted or stained surfaces. For bare wood, a sanding sealer works as the first coat. Apply two thin coats rather than one thick one. Lightly sand between coats with 220-grit and wipe with a tack cloth. Thin coats dry faster, level better, and give you a smoother base.
6. Apply Your Finish Coats
If you are staining, apply the stain with a brush or rag, let it sit for the recommended time, then wipe off the excess. Two coats build depth without looking muddy. If you are painting, apply two coats at minimum. Lighter colors over a dark base may need three. Brush in one direction and "tip off" each stroke to avoid lap marks.
For painted cabinets, choose a cabinet-grade enamel over a bonding primer. Enamel cures hard enough to wipe clean.
Spraying delivers the smoothest factory-style finish but requires a spray setup, proper ventilation, and practice. In Minnesota, watch the humidity. Anything above 50% slows drying and increases the risk of a tacky, uneven coat. Check conditions before you start each session.
** 7. Apply a Protective Topcoat and Reassemble**
A clear polyurethane or polycrylic topcoat protects the finish from daily kitchen wear. Apply one to two thin coats, sanding lightly with 320-grit between them. Sherwin-Williams recommends waiting a full 7 days for the topcoat to cure before putting dishes and cookware back inside the cabinets.
Keep in mind that dry-to-touch does not mean fully cured. Many cabinet enamels take days to weeks to reach full hardness, so go easy on scrubbing during the first week or two and follow the product instructions for use.
Once cured, rehang doors using your labeled hardware bags and numbered tape. Adjust hinges until all doors sit flush and close evenly.
** Mistakes That Ruin a Cabinet Refinishing Project**
Skipping the degreasing step. This is the number one reason DIY cabinet jobs fail. Primer and paint will not stick to grease, and the finish peels within months. TSP costs a few dollars and takes 30 minutes.
Sanding too aggressively or not enough. Deep gouges from coarse paper show through the final coat. But barely scuffing the surface means the new finish has nothing to grip. A controlled pass with 120 followed by 220 is the balance point.
Working in the wrong conditions. Minneapolis and St. Paul garages and basements swing between freezing in winter and humid in summer. Most primers and paints need temperatures between 50 and 85 degrees Fahrenheit and humidity below 50% to cure properly. Ignoring this creates bubbles, drips, and soft spots.
Rushing dry time between coats. Each coat needs to fully cure before the next one goes on. Stacking wet coats produces a finish that looks fine for a week and then wrinkles or stays tacky.
** Is Cabinet Refinishing Worth Doing Yourself?**
Here is the honest math. A 30 to 40 door kitchen costs $200 to $500 in supplies when you do it yourself. That same kitchen costs $5,000 to $8,000 for professional cabinet painting. The price difference is real, but so is the time difference.
| DIY | Professional | |
|---|---|---|
| Timeline | 3 to 4 weekends | 3 to 5 days |
| Cost (typical kitchen) | $200 to $500 in supplies | $5,000 to $8,000 |
| Finish quality | Depends on skill and conditions | Factory-smooth spray finish |
| Warranty | None | 2 to 5 years (written) |
Most homeowners can handle a simple repaint on a small set of cabinets. But a full kitchen with 30 or more doors, multiple coats, and drying logistics across weekends of Minnesota weather is a different project entirely.
Older homes in Minneapolis and St. Paul built before 1978 may also have lead-based paint on the cabinets. Sanding lead paint without proper containment creates a serious health hazard. The EPA's lead paint renovation guidelines require certified contractors for this work.
Why Twin Cities Homeowners Trust Durahome for Cabinet Painting
When the scope feels bigger than a weekend project, working with Durahome Painting Plus comes down to a few things that matter.
Durahome's free cabinet painting estimate is always exact and often comes in lower than the initial phone quote., PCA membership, and full licensing and insurance, the quality is documented.
** Your Cabinets Set the Tone for the Whole Kitchen**
They are the first thing people notice and the surface you touch most often. Whether you refinish them over a few weekends or hand the project to a professional cabinet painting crew that does this every day, the goal is a kitchen that feels worth walking into.
** Frequently Asked Questions About Cabinet Refinishing**
** How long does it take to refinish kitchen cabinets yourself?**
Plan for 3 to 4 weekends for a standard kitchen with 30 to 40 doors. Most of that time is drying and curing between coats, not active work. Rushing the schedule is the fastest way to ruin the finish.
Can you refinish cabinets without stripping them?
Yes, if the existing finish is in reasonable shape. Clean the surfaces thoroughly, scuff-sand with 220-grit, apply a bonding primer, and coat. Full stripping is only necessary when the old finish is peeling, flaking, or heavily damaged.
** How much does professional cabinet painting cost in the Twin Cities?**
Professional cabinet painting cost in the Twin Cities runs $150 to $200 per door, or $5,000 to $8,000 for a typical kitchen with 30 to 40 doors. That includes prep, priming, multiple coats, and a written warranty.
** Should I refinish or replace my kitchen cabinets?**
If the cabinet boxes are structurally sound (no warping, water damage, or rot), refinishing saves 70 to 80% compared to full replacement. Replace only when the boxes themselves are compromised or the kitchen layout needs to change.